Showing posts with label silhouette cameo. Show all posts

Wednesday, August 26, 2015

Space-Themed Growth Chart Ruler


When we were building our house three years ago, I nabbed a board that I thought would make a great portable growth chart. I was inspired by all the amazing DIY growth chart rulers on the newly-launched Pinterest, and I loved the idea of having something that could move with us (or our son) if we ever have to move. (This is not something we are planning to do, but living with a brain injury means not taking life for granted). Anyway, I set aside the board with a mental note to complete the project once we were settled into our new house.

A few weeks ago, I was in Amish country with my son and we saw this arrow-shaped growth chart ruler.

The arrow reminded me of a rocket...and the project I had planned. When we got home, I found the the board and saw that it had a big crack in it. Bummer. So much for sentimentality. 

 I headed off to Lowe's where I found a 1x8x72" board for under $10.


I'm not much for woodworking, but I did my best to sand the wood before applying primer. 


For the main color, I used Rust-Oleum Metallic spray paint in Cobalt Blue. It really does look like the sparkling deep space. 


I added a few spritzes of some other spray paints I had on hand to give the appearance of galaxies. I used silver glitter, a light blue glitter, and purple paint. 


Both my son and I were very happy with how the color turned out. 


The next day, after the paint dried, I used my sewing ruler and a glow-in-the-dark pen. I started at 6" at the bottom, up to 6'6" at the top.


For the numbers, I used the NASA font for the numbers. I finally tried cutting vinyl with my Silhouette Cameo. (This makes me laugh because cutting vinyl was the reason I bought my Cameo three years ago!). The silver vinyl was part of my starter kit!


The vinyl was very easy to place on the wood, and easy to adjust when the placement wasn't quite right. I see myself doing more with vinyl in the future!


At this point, my ruler looked more or less like all the other rulers out there. Since I was using a space theme, I had to include a rocket somehow. I found a lightweight painted wood rocket at Hobby Lobby.


I placed magnet tape along the center of the ruler to provide a path for the rocket as it measures our son's height. (I should mention that while I love the idea of this magnet tape, it's not super strong. Also, I did have to reinforce the magnet's adhesive on both ends with Weldbond, which has never failed me.


I attached 3 round magnets I had on hand to the back of the rocket to keep it flat as it moves up and down the magnet strip. 


For the sides, I used the same trick as I did on my craft table: duct tape! My son picked out a glittery blue tape, or as he called it, "galaxy tape." (Here you can see the rocket with one magnet. It was a little wobbly when little hands played with it. With three magnets, that is no longer a problem).


I added a few glow-in-the dark stars.


The inch marks don't glow as I had hoped, but the stars do.


Then I had to take a break for a few days to dig through all my son's medical papers to find his measurements each year. That was a good excuse to get everything organized. It had been about four years since I had actually put his papers in his binder!


I used a fine-tipped silver Sharpie to write his height as recorded at his annual well child exams. I was thinking that I would also add his height at the start and end of school, but I think that would have been too crowded, especially as he gets older and doesn't grow as quickly.


We used our stash of Command Strips to hang up the ruler. 
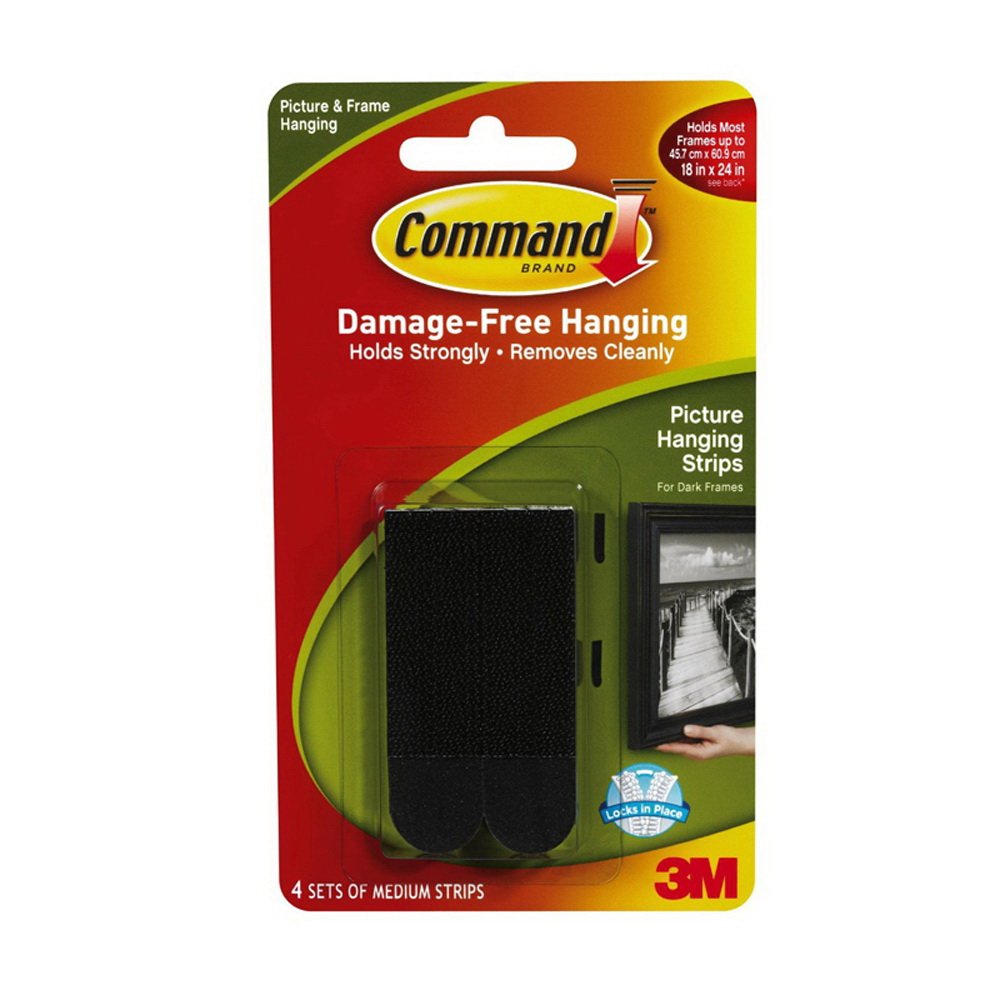
We placed 8 sets of strips to the back to make sure they were strong enough. Our baseboards are 5-1/2" high, so we measured the 6" mark for the bottom and carefully attached it. 


I love that the ruler is across the hall from his growing up gallery. It will be fun to see how he grows and changes his looks over the years. I just hope it doesn't pass too quickly!


Monday, June 10, 2013

First Silhouette Project! 3-2-1 Blast Off Shirt

Several weeks ago, I shared my Silhouette Cameo Confession: even though I finally bought the cutting machine last November, I had yet to make a single project with it. I was too intimidated. Since my brain injury, I learn best by doing, with someone showing me until I build my confidence. Fortunately, for me, my "Silhouette Someone" is Lauren from The Thinking Closet. We were recently in Orlando, I stalked her online  asked her to show me the ropes. So what was my first project? A space shuttle shirt for our space-obsessed four-year-old!


Lauren very graciously invited the entire de Jong family over for the day. Marissa entertained D and Niels spent his off-conference day working from Lauren's gorgeous backyard. 


Lauren and I had actually met up the day before to collect our supplies. 


After getting my Silhouette unpacked, Lauren gave me an overview of all the bells and whistles before we got started. (Lauren was working on these pretty jar labels). 

The first thing I had to do was find an image of a space shuttle. I didn't find exactly what I wanted on the Silhouette Online Store, but one of the reasons I chose the Silhouette over the also-popular Cricut was so that I could use online images. I found the winning image at Clker.com. (Thank you Google image search!). 


I measured the front of my son's t-shirt (which I bought at Hobby Lobby for super cheap!) to get an idea of the size I need my image to be. 


I knew that I would use "3-2-1 Blast Off!" as the text because our son says this all.the.time as he's busy playing with his space shuttle toys...or any toy, really. I chose Aharoni as the font. I reversed the text because it was an iron on. If I've followed directions correctly, you can download my Silhouette file here. (Please let me know if you can't download the file).


I forgot to take a photo, but I used Silhouette's yellow flocked heat transfer material. 

Lauren said, "If you buy nothing else from the Silhouette site, you should at least buy a weeding hook." A funny time for a tool used to dig out the material not needed, but after using it, I have to agree with the need for one! (I bought one that night and it was waiting for me when we arrived home from vacation). 

If I was a smarter girl, I would have selected an easier first design. I was very grateful that I was using Lauren's weeding hook.

Once the weeding was done, I was ready to iron!

I lined up the "two" of the text with the label on the shirt to center it on the tee-shirt.

The instructions didn't say to cover the iron-on, but we did, just to be on the safe side. 

It took a lot longer than I thought it would for the transfer to adhere. Every few minutes, I would carefully lift the backing to see if the image was holding to the shirt. After ten minutes, I was putting a little muscle in it! That seemed to do the trick!


And it's done!

My first of many Silhouette projects! 

The best part of this project--other than spending the day with my new blogging buddy--was D's reaction. He loved it!  

D has no interest in The Mouse, but he was super excited to visit his Disneyland, NASA's Kennedy Space Center. Guess what he wanted to wear?

My favorite picture of him in his blast off shirt is this one, where he is blasting off in the car while I was in JoAnn's.

A big thanks to Lauren for hosting this Silhouette newbie, and letting me take pictures and drool over my favorite of your projects.  
1  DIY Birthday and Anniversary Calendar (I think she's an honorary Dutchie) 2 Ticket Stub Memory Box (You can see my version here) 3 Hot Drinks Station 4 Filing Fabric 5 Wood Pallet Sign 6 White on White Canvas Art 7 Meal Planner 8 Pallet Christmas Card Holder 9 Exercise Challenge

The Silhouette Challenge - A Series By The Thinking Closet & Friends
This post is my first entry in the Silhouette Challenge, where some fellow blogger friends and I are attempting to complete and blog about a new Silhouette project each month. Click on the links below to see what other creative bloggers have been working on this month. 

Make Your Own "Rubber" Stamps by Coley's Corner
This Month's Facebook Silhouette Challenge by Tanya's Creative Space
3D Tea Gift Box Download by Creative Turn
File Cabinet Makeover by Super Sweet Life
Jewelry Box Creation by Joy & Gladness of Heart
Retro Chair Silhouette by Tried & True
Toddler Train T-Shirt by The Thinking Closet
Placecard & Card Medley by An Elegant Touch

Saturday, May 18, 2013

Home Again!

After two weeks in Orlando, we are very happy to be back at the dream house! Niels had back-to-back conferences, so Marissa, D, and I had lots of time to explore the non-Mouse attractions in Florida. One of the absolute highlights of our trip was spending the day at my blogger buddy, Lauren's beautiful lake house. You can read her version of our craft day adventure on her blog, The Thinking Closet. Here we are meeting for the first time and picking out supplies.

I am very happy to report that the amazing Lauren has cured me of my fear of my Cameo. In fact, she helped me with not one, but two projects! Here's a sneak peak at what I made for our space-obsessed son in preparation for our trip to the Kennedy Space Center. 

And here's a peek at my updated version of a project that needs a little updating.

I look forward to sharing these tutorials, plus some of my favorite projects of Lauren's...in the near future!


Tuesday, April 30, 2013

Silhouette Cameo Confession


I have a confession to make. Five months ago, my sweet husband took advantage of a Black Friday promotion and bought me the Silhouette Cameo I had been drooling over for almost two years. The confession is the number of times I've used it: none, zero, nada, zippo. 

Sigh.

As far as I know, there is nothing wrong with it other than it didn't come with a talking person who could show me how to use it. I'm a little overwhelmed. Since my brain injury, I have noticed that I have  a harder time learning new things. Where I used to be able to just read a manual and figure things out, now I need to be able to see each step or have someone walk me through it. I started cooking by following blogs that took photos of each step. I learned to sew because my friend Nicole walked me through my first couple projects. I have a bursting board on Pinterest of projects I would love to do with my Cameo. But I just can't figure out how to use it. Grrrr...

I'm hoping to get together with a new friend in the next couple of weeks for some Cameo tutoring. To gear up for our get-together, I put together a list of projects I really, really want to do. 

1. Vinyl lettering and labels

I love the labels we have in our freezer, but the foam stickers I used don't like the cold. They fall off if they're bumped. I would love to make vinyl labels to replace them. 

For that matter, I'd also like to update the labels in our frig, like how Project Simple Home has done. 

Please do NOT pin this photo from our page.  Please pin from the source.
Also, I used foam stickers to put a few friendly reminders around the house for my boys. They work pretty well, except for when my overly-tired son would rather pull off and rearrange stickers than use the toilet before naptime. I'd love to replace my stickers with vinyl. Glamorous, I know.

I have a bajillion other labeling and vinyl ideas.

2. Frosted/Etched Glass

Did you know you can make etched glass with a Silhouette? I'd love to customize our casserole dishes like The Real Coake Family has done. 
Homemade Christmas Gifts
Please do NOT pin this photo from our page.  Please pin from the source.
I also love what Dans Le Townhouse did with her mirror. I have "Imago Deo" (image of God) on our full length mirror, written in puffy paint. Niels loves the sentiment, but not the execution. This would look a lot nicer!
Please do NOT pin this photo from our page.  Please pin from the source.
I also really like this idea from eighteen25.
Please do NOT pin this photo from our page.  Please pin from the source.
Heat Transfer Shirts and Onesies

I would love to be able to make my train and space shuttle-obsessed boy custom tees like this one made by Craftaholics Anonymous.
airplane t-shirt
Please do NOT pin this photo from our page.  Please pin from the source.
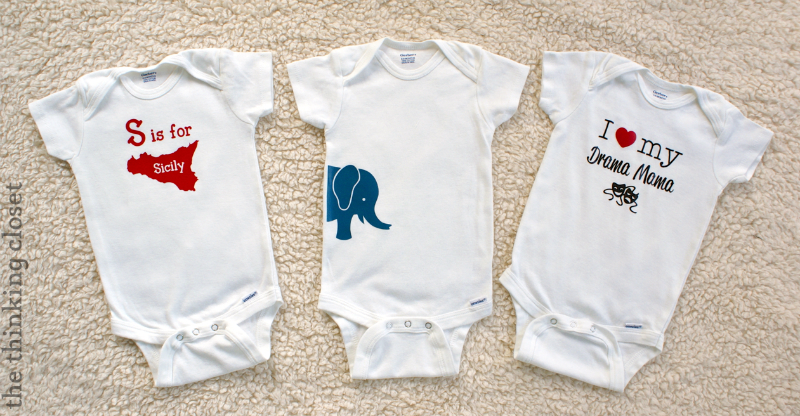
And I'd love to make custom onesies like The Thinking Closet has done for all the sweet babies my friends are having. 
Gender Neutral Onesies & Free Cut Files | The Thinking Closet
Please do NOT pin this photo from our page.  Please pin from the source.
Fabric Cutting
I am absolutely giddy about the idea of using the Cameo with my new love of sewing. How cute is this tooth fairy pillow?
Please do NOT pin this photo from our page.  Please pin from the source.
And I'd love to be able to cut out letters for monograms on quilts or to make cute projects like these days of the week dishags from Knitty Bitties.
Please do NOT pin this photo from our page.  Please pin from the source.
Other Projects

As part of my 2013 Pinterest Challenge, I want to make a growth chart ruler like this one from Adventures in Decorating and Design.  
Please do NOT pin this photo from our page.  Please pin from the source.
Click below to follow my ever-growing Silhouette inspiration board on Pinterest.

I'd love to hear from you. Do you have a super simple tutorial to get me started?

Linked to:
Crystal and Co.  * New Nostalgia * Real Coake * Sew Much Crafting * SNAP!
Related Posts Plugin for WordPress, Blogger...