
A few weeks ago, I was in Amish country with my son and we saw this arrow-shaped growth chart ruler.

The arrow reminded me of a rocket...and the project I had planned. When we got home, I found the the board and saw that it had a big crack in it. Bummer. So much for sentimentality.
I headed off to Lowe's where I found a 1x8x72" board for under $10.

I'm not much for woodworking, but I did my best to sand the wood before applying primer.

For the main color, I used Rust-Oleum Metallic spray paint in Cobalt Blue. It really does look like the sparkling deep space.

I added a few spritzes of some other spray paints I had on hand to give the appearance of galaxies. I used silver glitter, a light blue glitter, and purple paint.

Both my son and I were very happy with how the color turned out.

The next day, after the paint dried, I used my sewing ruler and a glow-in-the-dark pen. I started at 6" at the bottom, up to 6'6" at the top.

For the numbers, I used the NASA font for the numbers. I finally tried cutting vinyl with my Silhouette Cameo. (This makes me laugh because cutting vinyl was the reason I bought my Cameo three years ago!). The silver vinyl was part of my starter kit!

The vinyl was very easy to place on the wood, and easy to adjust when the placement wasn't quite right. I see myself doing more with vinyl in the future!

At this point, my ruler looked more or less like all the other rulers out there. Since I was using a space theme, I had to include a rocket somehow. I found a lightweight painted wood rocket at Hobby Lobby.

I placed magnet tape along the center of the ruler to provide a path for the rocket as it measures our son's height. (I should mention that while I love the idea of this magnet tape, it's not super strong. Also, I did have to reinforce the magnet's adhesive on both ends with Weldbond, which has never failed me.

I attached 3 round magnets I had on hand to the back of the rocket to keep it flat as it moves up and down the magnet strip.

For the sides, I used the same trick as I did on my craft table: duct tape! My son picked out a glittery blue tape, or as he called it, "galaxy tape." (Here you can see the rocket with one magnet. It was a little wobbly when little hands played with it. With three magnets, that is no longer a problem).

I added a few glow-in-the dark stars.

The inch marks don't glow as I had hoped, but the stars do.

Then I had to take a break for a few days to dig through all my son's medical papers to find his measurements each year. That was a good excuse to get everything organized. It had been about four years since I had actually put his papers in his binder!

I used a fine-tipped silver Sharpie to write his height as recorded at his annual well child exams. I was thinking that I would also add his height at the start and end of school, but I think that would have been too crowded, especially as he gets older and doesn't grow as quickly.

We used our stash of Command Strips to hang up the ruler.
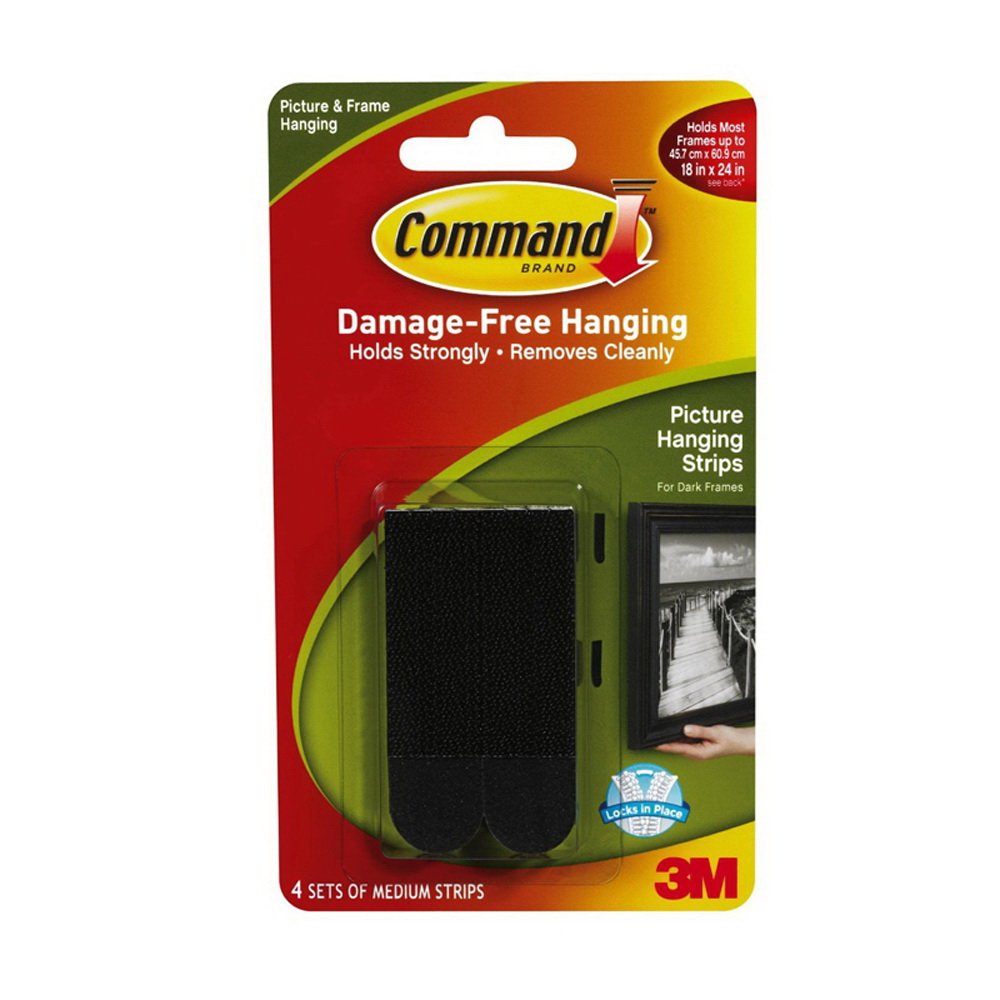
We placed 8 sets of strips to the back to make sure they were strong enough. Our baseboards are 5-1/2" high, so we measured the 6" mark for the bottom and carefully attached it.

I love that the ruler is across the hall from his growing up gallery. It will be fun to see how he grows and changes his looks over the years. I just hope it doesn't pass too quickly!
Linked to:
Carolyn's Homework * Creative Muster * The DIY Dreamer * The Idea Room * Modern Pilgrim * My Uncommon Slice of Suburbia * Nibbles by Nic * Practically Functional * Sew Can Do * Shabby Nest * A Vision to Remember
Carolyn's Homework * Creative Muster * The DIY Dreamer * The Idea Room * Modern Pilgrim * My Uncommon Slice of Suburbia * Nibbles by Nic * Practically Functional * Sew Can Do * Shabby Nest * A Vision to Remember


